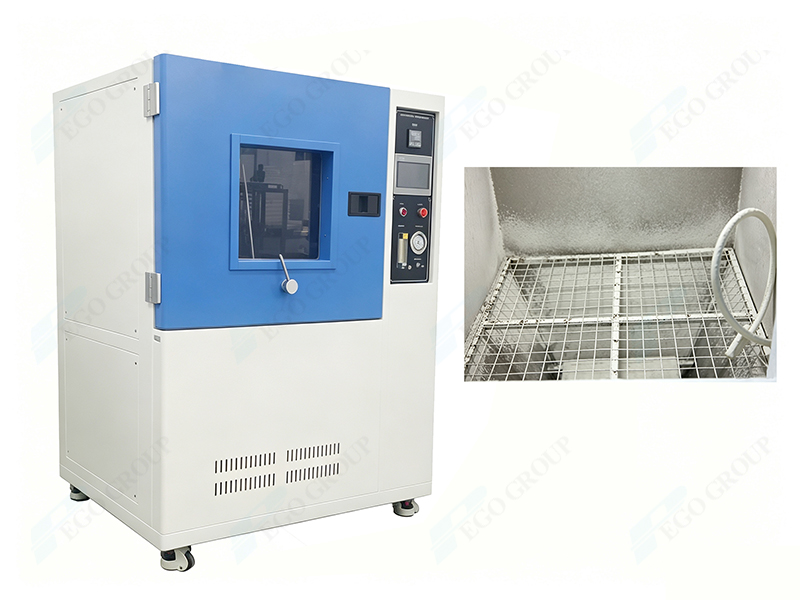
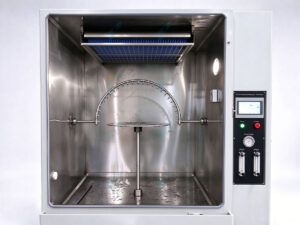
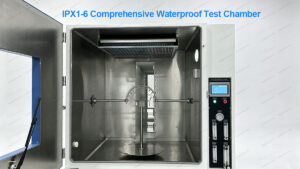
The dust test chamber is mainly used for the shell tightness detection of outdoor equipment such as outdoor cameras, vehicle lamps, street lamps and outdoor air conditioner units, to verify the dust protection performance of equipment shells. This article specifies the applicable sample types, system composition and standardized operation procedures of vacuum pumping for dust resistance tests.
1. Samples Requiring Vacuum Pumping
1.1 IP5X Dust Resistance Test
Category 1 enclosures: For IP5X-rated heat-dissipating and heating equipment samples, negative pressure is formed inside the shell during normal operation, with the internal air pressure lower than the external atmospheric pressure. A pumping hole shall be arranged near the easily detachable parts, and the sample pumping port shall be connected to the vacuum system pipeline via a hose.
Category 2 enclosures: For IP5X-rated fully enclosed non-heat-dissipating equipment samples, the internal and external air pressure can be balanced automatically. If the product standard clearly defines the shell as category 2, vacuum pumping is not required for the IP5X dust resistance test. If there is no clear specification in the product standard, all samples shall be judged as category 1 and must undergo vacuum pumping during the test. Samples shall be placed in accordance with the requirements of product technical specifications before the test.
1.2 IP6X Dust-tight Test
All IP6X-rated samples (both category 1 and category 2) are required to conduct vacuum pumping during the test. This operation simulates the actual dust inhalation condition of equipment during cooling shutdown, so as to accurately verify the dust-tight performance of equipment.
2. Vacuum System Composition
The complete vacuum system consists of a vacuum pump, pressure regulating flow valve, vacuum pressure gauge, flow meter, dust filter element, vacuum connecting hose and sealing connector.
Standard limit: The internal and external pressure difference of the sample shall not exceed 2kPa (20mbar). Overpressure operation is strictly prohibited to avoid damage to the sample sealing structure.
3. Standard Vacuum Pumping Procedures
Step 1: Pre-test Treatment, Drilling and Pipe Connection
- Place the sample at room temperature for 2 hours of dry standing to ensure no residual moisture on the sample surface;
- Prioritize the original drain holes and breathable holes of the sample as pumping holes; drill standard holes on the side of the sample shell if no reserved holes are available;
- For samples with multiple holes, only one hole is connected to the vacuum tube, and all other holes shall be completely sealed and blocked;
- Connect the vacuum hose to the sample pumping port, wrap raw material tape or apply sealant at the joint to ensure airtight pipeline connection;
- Pass the hose through the sealing hole of the chamber door to connect with the built-in vacuum system, ensuring the pipeline is free of bending and extrusion.
Step 2: Sample Placement, Material Feeding and Chamber Sealing
- The volume of the loaded sample shall not exceed 1/3 of the effective volume of the test chamber, and the distance between the sample and the chamber wall shall be no less than 100mm on all sides;
- Put in standard talcum powderfiltered by a 75μm sieve at a dosage of 2kg per cubic meter of chamber volume;
- Lock the chamber door and fully inspect the chamber tightness to eliminate dust leakage risks.
Step 3: Equipment Startup and Parameter Adjustment
- Turn on the dust circulation fan to form a uniform suspended dust environment in the chamber;
- Start the vacuum pump and slowly adjust the flow regulating valve to stabilize the operation of the vacuum pipeline;
- Standard pumping flow requirement: The hourly pumping volume is 40~60 times the volume of the sample shell. If the flow meets the standard, the vacuum test lasts for 2 hours. If the sample has excellent tightness and the hourly pumping volume is less than 40 times the shell volume, the test shall last for a cumulative 8 hours or until the total pumping volume reaches 80 times the shell volume;
- Observe the vacuum pressure gauge in real time, maintain the internal and external pressure difference of the sample at 0~2kPa stably, and the maximum pressure difference shall not exceed 10kPa.
| Item | IEC60529 Standard Requirements |
| Maximum Allowable Pressure Difference | ≤2 kPa (20 mbar) |
| Standard Pumping Rate | 40~60 times of shell volume per hour |
| Qualified Flow Test Duration | Continuous 2 hours |
| Insufficient Flow Test Duration | Cumulative 8 hours / Total pumping volume up to 80 times of shell volume |
| Dust Test Medium | Dry talc powder, filtered by 75μm sieve |
| Chamber Internal Humidity | <25% |
Step 4: In-test Inspection
- Check the values of flow meter and negative pressure gauge regularly, and fine-tune the regulating valve in case of flow fluctuation to ensure stable parameters;
- Inspect the tightness of vacuum tube joints throughout the test to prevent air leakage and dust backflow into the vacuum pump;
- Control the internal humidity of the chamber below 25% to avoid caking of talc powder and pipeline blockage.
Step 5: Shutdown and Completion Procedures (Key: Prevent Dust Backflow)
- First close the vacuum pumping valve and vacuum pump to cut off the pumping power;
- Open the vacuum pipeline pressure relief valve to release the negative pressure inside the sample shell;
- Turn off the dust circulation fan and let it stand for 1 hour to ensure all dust in the chamber settles completely;
- Open the chamber door and take out the sample only after pressure relief is completed, so as to avoid a large amount of dust being sucked in by instantaneous negative pressure and affecting the accuracy of test results.